Sublimate a cotton cap in 3 steps
The cap is the must-have accessory of the summer!
Modern and trendy, it goes through the years without going out of style. What could be better than being able to personalize it today?
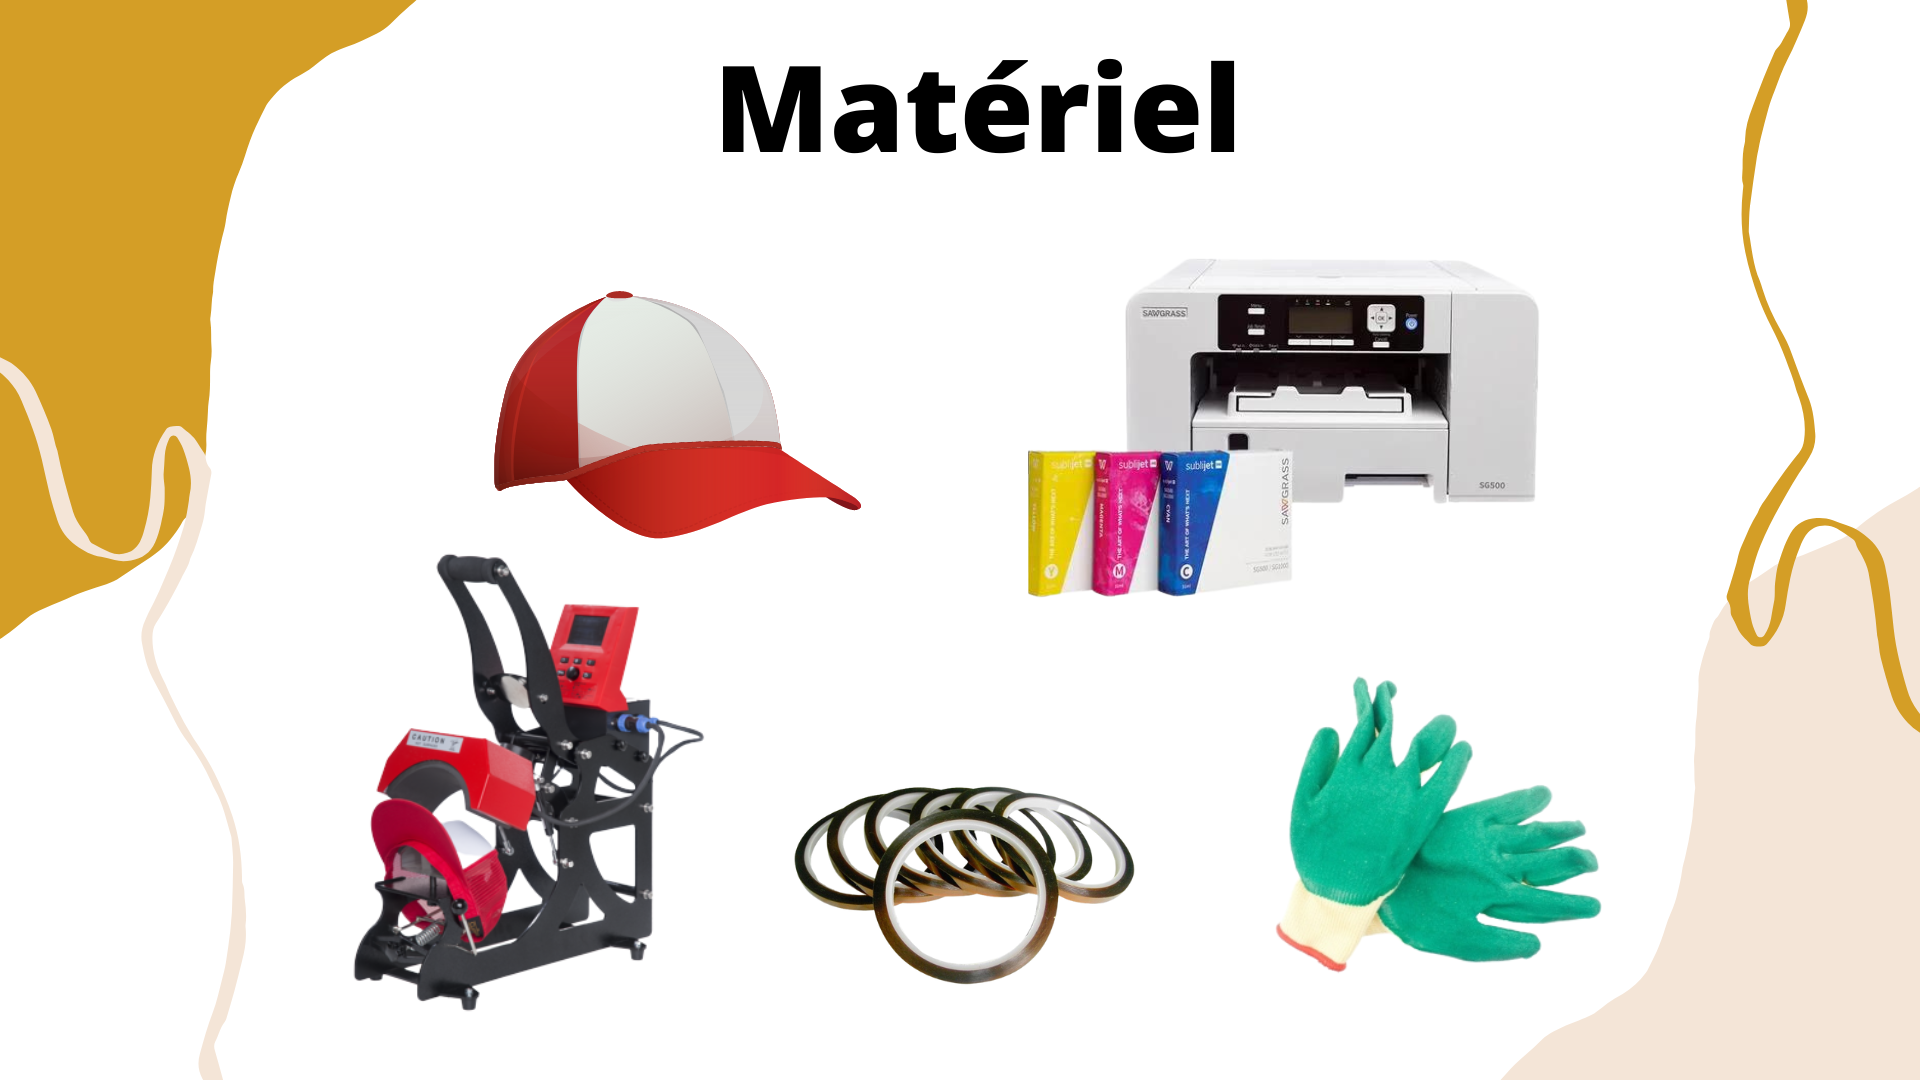
We are going to describe you step by step the technique to follow to create sublime personalized caps in cotton sublimation. For this, nothing could be easier, you will need :
- A Virtuoso Cotton sublimation printer (Chromablast ink)
- A sheet of Chromablast sublimation paper (or Liberty Subli paper with a Poyester printer if you have a "Sublijet ink" printer, see below as an alternative to cotton sublimation)
- A cap press
- A blank white cotton cap
- A roll of high temperature tape
- A pair of high temperature gloves
Steps to follow to personalize your cotton sublimation cap:
1- Print your visual
First, select your visual and print it in mirror mode. Make sure it fits on the blank part of your cap. The size of the visual will be displayed in the upper right corner of the Creative Studio software. On the SPM software, select the right paper: Chromablast, and the right media: Cotton. And choose the quality : High Quality.
Important : To sublimate cotton, you must use Chromablast ink.
Alternative to cotton sublimation: The Polyester / Sublijet printer is suitable for polyester materials. However, on this printer, you have the alternative of using a specific printable flex, such as Liberty Subli or Liberty Patch adapted to dark and/or cotton textiles. The rendering will be different from the one you know in classic polyester sublimation, it will be slightly thicker and not adapted to large flat areas on tee shirts. On a cap, however, the result will be very interesting. To discover the steps and the use of this paper, go to the product sheet : https://www.creadhesif.com/liberty-subli-print-pour-imprimante-sawgrass-virtuoso-sublijet.html
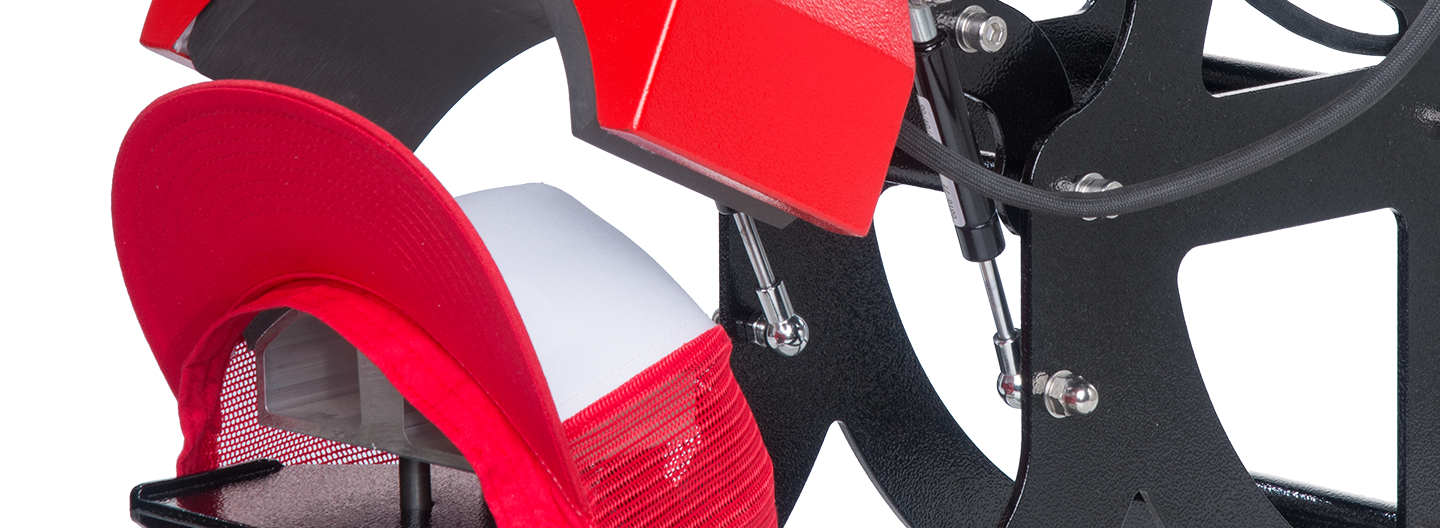
2- Set up your press
You can then make the temperature settings on your heat press.
Here, for a cotton cap with Chromablast paper, set the temperature between 180°C and 200°C. Then adjust the time between 20 and 40 seconds with a medium pressure and validate your settings by pressing the "enter" button.
3 - Make your transfer
Once your press has reached temperature, position your cap on your heat press and place your visual printed side on the blank part of your cap, fix it with high temperature tape to avoid burrs during the transfer.
Press and wait for the timer to run out
You can then remove the heat paper and admire your new cap!
Tips: If your image is slightly "brown" after the transfer, you probably have a problem of too high temperature at the time of pressing. In this case, lower the temperature by about 20°C and start again.
On the other hand, if your image has a "whitish" aspect, it is surely a too low temperature at the time of pressing. In this case, increase the temperature by about 20°C and try your luck again!
Here you are with a superb cap, unique and personalized to your taste! A photo, a first name or simply a logo, you can now sublimate all caps to your ideas. A key accessory for summer markets.
Need more information on sublimation? We offer free online training (webinars) on this topic:
- Dye sublimation
- SG500 / SG1000 Dye Sublimation Printers
- Dye Sublimation: Maintenance and Tips
- Creative Studio Software
- SPM Software
- Sublimation ChromaLuxe
- Specialty Papers for Dye Sublimation
- EasySubli Paper
- Liberty Subli
- Liberty Patch
- Liberty Patch Satin Effect
Find all the dates and register by clicking on this link.
Discover all our video tutorials on our Youtube channel.
All our podcasts are available right here.
To discover our tips, advice and news, subscribe to our social networks Facebook, Instagram, LinkedIn and TikTok.
See you soon,
The Team Créadhésif
Quickly, all to your presses!