Prepare... Coat... Insulate... Your product is ready!
What is silkscreen printing?
Screen printing is a very old printing technique derived from the stencil.
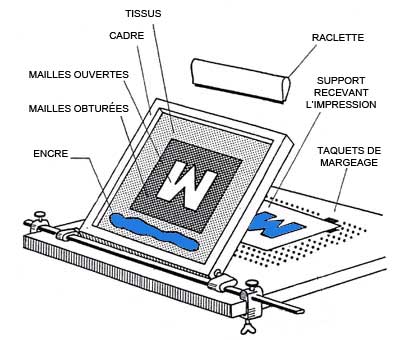
The flat screen printing screen acts as a "stencil" between the ink and the support to be printed (T-shirt): the ink passes through where the mesh is unobstructed.
The pattern is printed on a transparent film in opaque black,
this is called the Typon.
The screen printing screen is coated with an emulsion that hardens with light (natural or reproduced). The hardened emulsion forms a paste (all the meshes of the screen are blocked). This paste acts as a stencil when the ink is applied.
Once the screen and the typon are ready, the exposure is done.
The typon is plated on the canvas, then the whole thing is exposed in front of a UV lamp . The pattern is revealed by passing the screen under a jet of water. The emulsion in the mesh areas that are not exposed to UV light thanks to the interposed film dissolves with the water, leaving the mesh unobstructed.
The screen is then placed on the carousel. The ink is placed on the screen, and with the help of a squeegee,
the ink is distributed, which will infiltrate through the screen meshes.
This operation must be repeated as many times as there are colours (one screen per colour).
Between each pass, a drying is carried out.
What ink should I use?
Plastisol ink is ideal for dark-coloured textiles. It has the particularity of not air drying.
Water Ink is used like a plastisol ink, but its water-based formulation is much more environmentally friendly.
The ink dries much faster in air (30 minutes after printing, at room temperature).
Five steps to screen print
easily
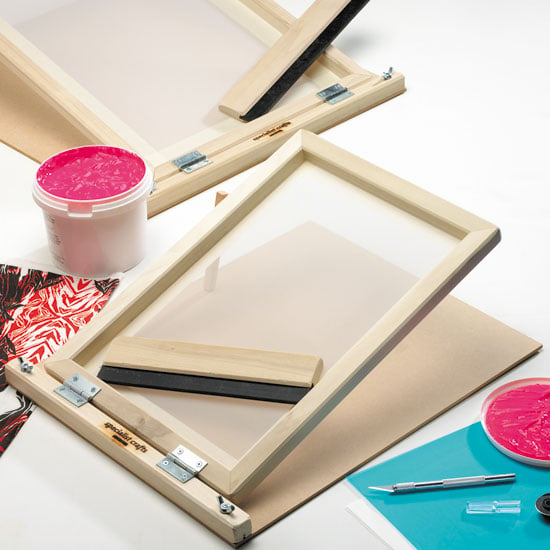
1 - Prepare your screen: your screen and your screen-printing squeegee must be clean, the mesh fabric must be free of all traces of grease so that the emulsion adheres properly.
2 - Coat your screen with a photo-emulsion in the dark or in a very dimly lit space using a coating squeegee.
3 - Insulate your screen for screen printing (exposure to light) by superimposing the following elements from top to bottom: glass, positive mirror film, emulsion screen, blackout cloth. This step preserves the image on the screen.
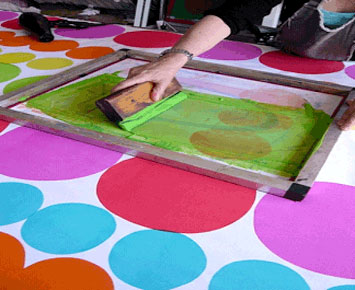
4 - Apply the ink to your screen: wedge your frame and place the ink in a straight line over the pattern, then scrape the ink off the screen with a quick and continuous movement so that the ink passes through the screen mesh.
5 - If your pattern is multicoloured, you must repeat the operation using a different screen for each colour. To do this, your support must be well maintained.
Your shirt is ready to wear!
The tip Créadhésif : we accompany most of the product descriptions on our "Créadhesif Tips" site. Don't hesitate to use it to make your screen printing as successful as possible!
What are the advantages of screen printing?
- A simple and economical printing technique that requires few tools
- A very rich palette of possibilities (gradient patterns, multi-colour)
- Perfect long-term hold
- Professional-quality rendering
- Intense colours and good opacity
- High line precision
- High colour fastness to light
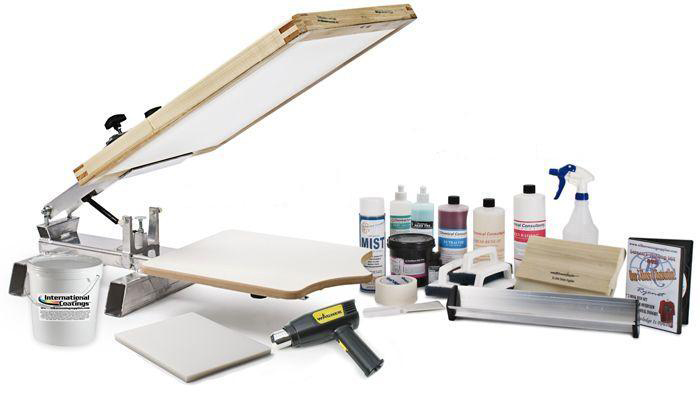
What equipment is needed to get started in textile screen printing?
- A printing carouselFor your convenience, find our selection of carousels in 1 color, 4 colors
and 6 colors.
- A screen print screen (one per colour), find our wooden and aluminiumscreens
- From screen printing inksFind our selection of Plastisol and water based inks.
To carry out screen exposure:
- An exposurelight source
- A hollowcoating squeegee
- A intermediate flasher(dryer)
- a printing doctor bladeChoose your doctor blade according to your needs.
- A kit of products to prepare your screens, make your selection among our screen printing tools
.
- A cleaning kit screens, choose the cleaning kit to adapt
to your needs.