How do I use a heat press ?
That's it! You've made your choice from one of the many hot presses? You unpack your press and there ... AIE ... you wonder how you're going to make this beast work !
Come on, we're being nice and telling you everything: settings, pressing, maintenance, your press will soon have no secrets for you.
First, carefully unpack your press and place it on a flat, stable surface in an airy, non-humid room. Ideally, your heat pressshould be located at mid-height (slightly higher than your waist level). This will make it easier for you to handle your press.
Plug it in, choose the flex you want to use to, for example, personalise a t-shirt. If we take the example of Hot'flex PU, start by referring to the instructions in the product sheet on our site www.creadhesif.com on how to use this flex.
From one flex to another, the settings can vary greatly. If you regularly use the same two or three flexes for your creations, you will soon know these settings by heart.
Tip Créadhésif : If you use a wide variety of flexes, we advise you to build a reference table showing the different settings according to the flexes used. Hang it above your press in your shop or workshop: precious time saving guaranteed!
For the Poli-Flex Turbo, the following settings must be applied:
- Medium pressure
- Temperature between 130 and 160 degrees
- A pressing time of 3 to 5 seconds
- Peel while hot
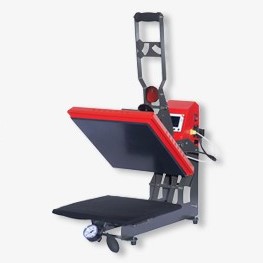
The pressure can be adjusted using the pressure knob: turn to the right to increase the pressure and turn to the left to decrease the pressure. Medium pressure means being able to close the heat press with a slight force. You should not be able to close the press too easily nor put all your strength to close the press! The trick is to find the right balance.
To adjust your temperature and pressing time, use the indication buttons located below the digital display (see photo above). The buttons vary according to the presses, but the use generally remains intuitive: use the arrows to increase or decrease the time or temperature, validate, then proceed in the same way for the second parameter (time or temperature).
Once your press has reached the right temperature, press your T-shirt or other material to be personalised. Don't forget to protect your T-shirt with a sheet of Teflon.
When the time runs out, you're going to hear an alarm beep! Take your shirt off the press, and do your peeling, cold if you use Hot'flex.
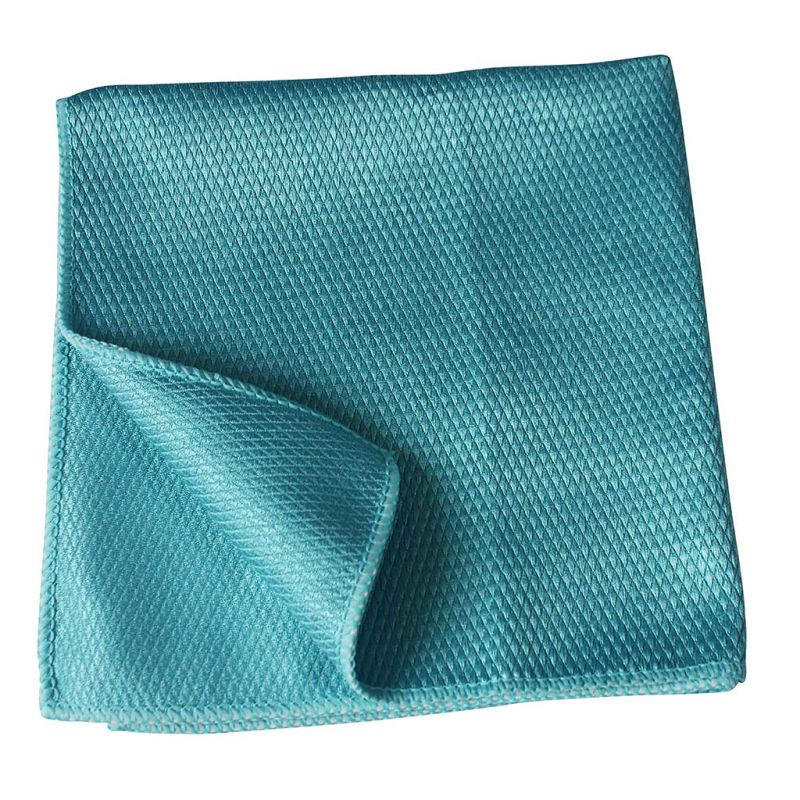
Now clean up your press. Simply use water on a soft cloth once your press has cooled down, the platter should feel warm to the touch.
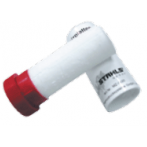
Tip Créadhésif : You can also use a cleaning stick for heat press to remove ink residue and deposits stuck on your top heat plate.
Bravo! You now know everything about heat press !
Need more information on Flocking? We offer free online training (webinars), Facebook Live, and exclusive videos on YouTube:
- Webinar - The Flocking Technique,
- Webinar - Our Cutting Flexes
- Facebook Live: Flocking creations with the Flex Siser
- Facebook Live: Flocking Creations - Easter Special
- Créa'Tuto - Customising a POLI-TAPE Flockage Placemat
Find all the training dates and register for free by clicking on this link.
Discover all our video tutorials on our Youtube channel.
All our podcasts are available right here.
To discover our tips, advice and news, subscribe to our Youtube channel and follow us on our social networks, Instagram, Facebook, LinkedIn and TikTok.
See you soon,
The Team Créadhésif